Removal And Installation: Removal
NOTE:
- Removal steps in this procedure may contain installation details.
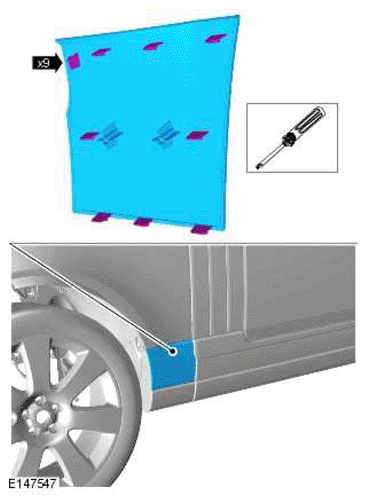
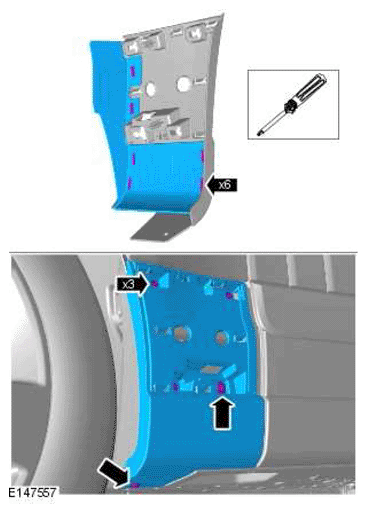
- LH illustration shown, RH is similar.
-
WARNING: Make sure to support the vehicle with axle stands.
Raise and support the vehicle.
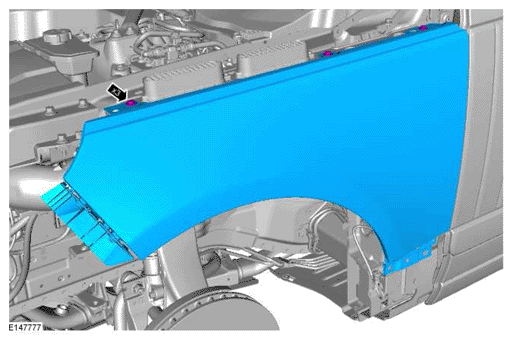
- Refer to: HEADLAMP ASSEMBLY .
-
NOTE: RH side only.
Refer to: WINDSHIELD WASHER RESERVOIR .
-
NOTE: Apply heatshrink or protective tape to the end of the screw-driver.
-
CAUTION: Make sure to protect the paintwork.
Torque: 10 Nm
Torque: 10 Nm
Torque: 10 Nm
-
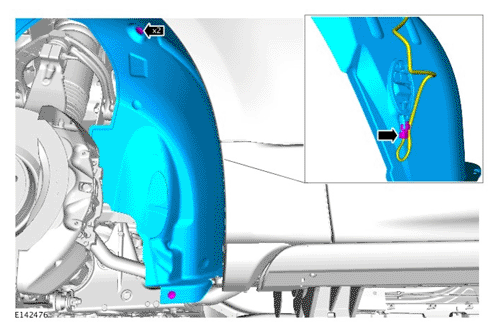
NOTE: Make sure that the component is installed to the position noted on removal.
Torque: 10 Nm