Timing Chain, Crankshaft Sprocket, Camshaft Position Actuator, and Solenoid Valve Removal
WARNING: This page is about a different variant/trim than selected.
Special Tools
- J 8433: Two Jaw Puller
- J 41558: Crankshaft Sprocket Remover
- J 41816-2: Crankshaft End Protector
- J 42386-A: Flywheel Holding Tool
For equivalent regional tools, refer to Special Tools .
- Do not use the camshaft position (CMP) actuator solenoid valve again. Upon installation of the CMP actuator and timing chain, install a NEW valve.
- Do not apply threadlock to the flex plate bolts at this time.
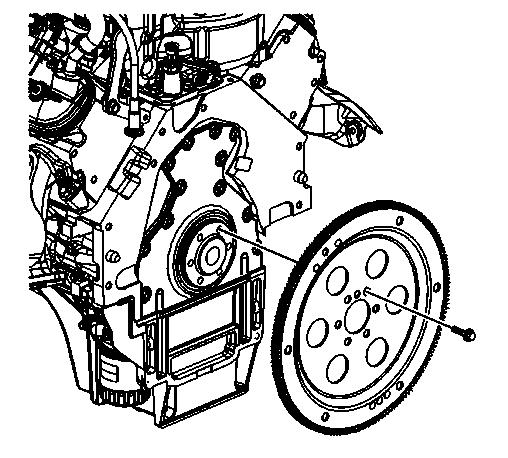
- Temporarily install the automatic transmission flex plate and bolts. Refer to Automatic Transmission Flex Plate Installation .
- Install the J 42386-A: tool (1) and bolts. Use 1 M10 - 1.5 x 120 mm and 1 M10 - 1.5 x 45 mm bolt for proper tool operation. Tighten the J 42386-A: tool bolts to 50 N.m (37 lb ft).
- Remove the CMP actuator solenoid valve (234).
- Discard the solenoid valve.
- Loosen and separate the CMP actuator and timing chain from the camshaft. Position fingers behind the actuator sprocket and pull the actuator away from the front of the camshaft. Never pull on the reluctor wheel when attempting to remove the actuator.
- Remove the CMP actuator (235) and timing chain (208).
- Insert a tie strap (1) through the center of the actuator and over the reluctor wheel.
- Remove the bolts (231) and timing chain tensioner (232).
- Use the J 41816-2: protector (1), the J 41558: remover (2), bolts (3), and the J 8433: puller (4) in order to remove the crankshaft sprocket.
- Remove the crankshaft sprocket (207).
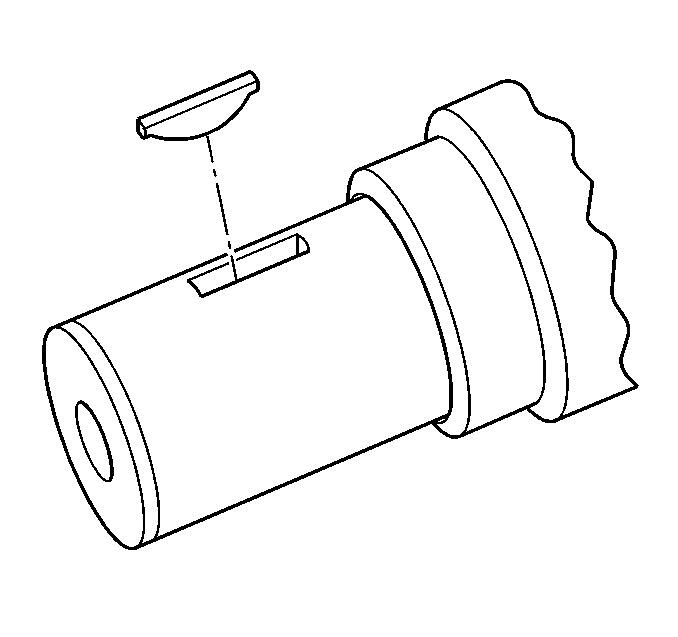
- Remove the crankshaft sprocket key, as required.
- Remove the flex plate and bolts. Refer to Automatic Transmission Flex Plate Removal .
- Remove the J 42386-A: tool and bolts.
NOTE:

CAUTION:
Refer to Fastener Caution
.


WARNING:
Refer to Camshaft Position Actuator Removal and Installation Warning
.